Creating a Project
Projects are listed on the Projects and Time-Projects page. Projects can be filtered by Owner, Company, Type and Status. You can create a new project by pressing the Create New button.
Projects are used to record time for all business activities and can be of type Customer, Internal or Management.
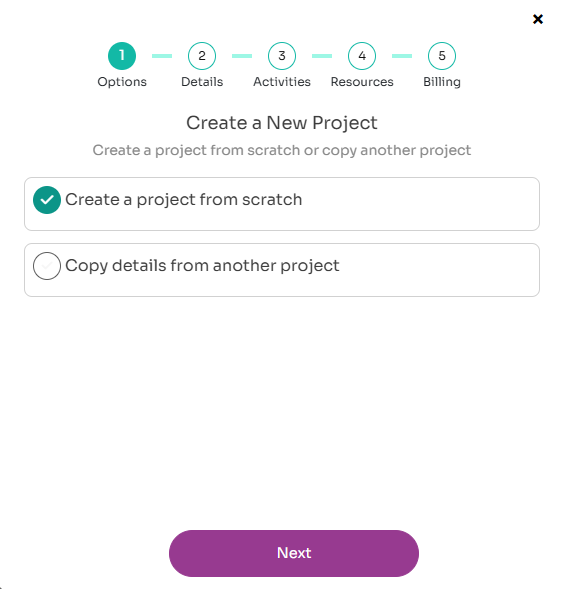
You can create your own project from the Projects page by pressing the New Project button. This will bring up the New Project Wizard. The wizard takes through a set of steps required to create a project. You can create a project from scratch or copy the details from another project. When copying from another project, the activities and resources from the existing project will be copied over. You can use these projects to act as templates for new projects.
When you have selected the first option you then need to complete the project details.
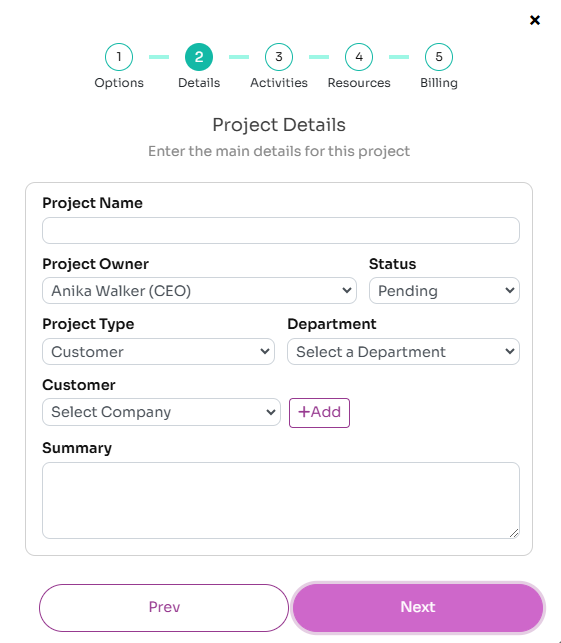
Some basic information needs to be entered in order to create the project:
- Project Name: this is mandatory and must be unique across your organisation
- Project Type: this can be Customer, Internal or Management
- Customer: for Customer projects, you can link to an existing customer or add a new customer to your organisation by pressing the Add button
- Project Owner: this will default to you but can be assigned to any user in the organisation
- Status: defaults to Pending, but can be set to Active, Cancelled, Completed or Suspended
- Summary and Notes: the Summary is a short description of the project, Notes is a rich text area where you can include detailed notes about the project.
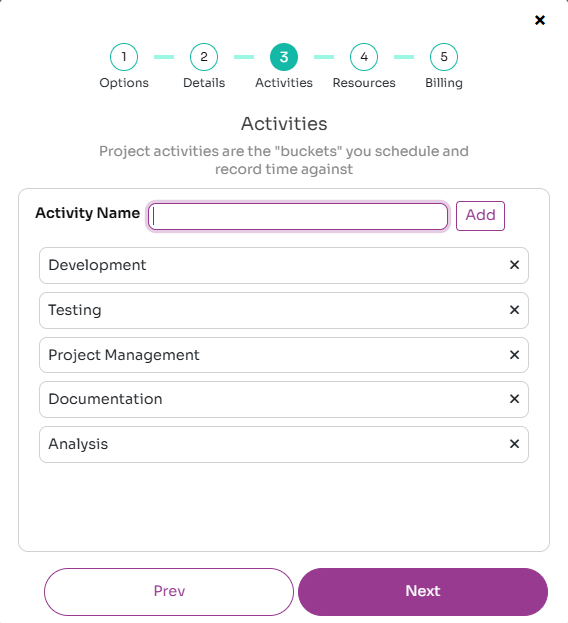
The next step is to create one or more activties. Activties are what you can schedule and record time against and link tasks to. They should be the high level activties required to complete your project, such as Development and Testing.
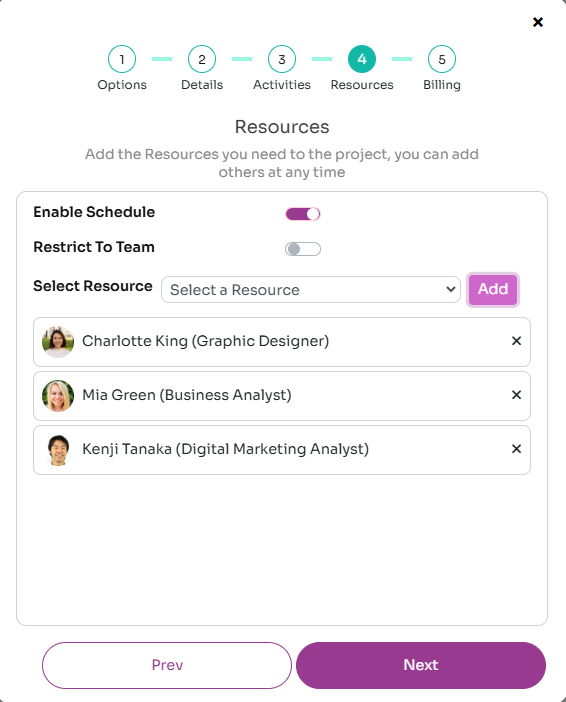
The next step is to choose your project team; add resources to the project that you wish shchedule or record time for on the project.
The final step is to complete some final options on the product, including if you want to capture billing data on the project.

- Enable Schedule: indicates whether you can schedule resources for the project
- Restrict To Team: indicates that only resources assigned to the project can record time against the project
- Enabled Billed: indicates that financial and billing data should be captured on the project. You can enter a Billing Cuurency and Budget for the project
- Planned Dates: a planned start and end date for the project
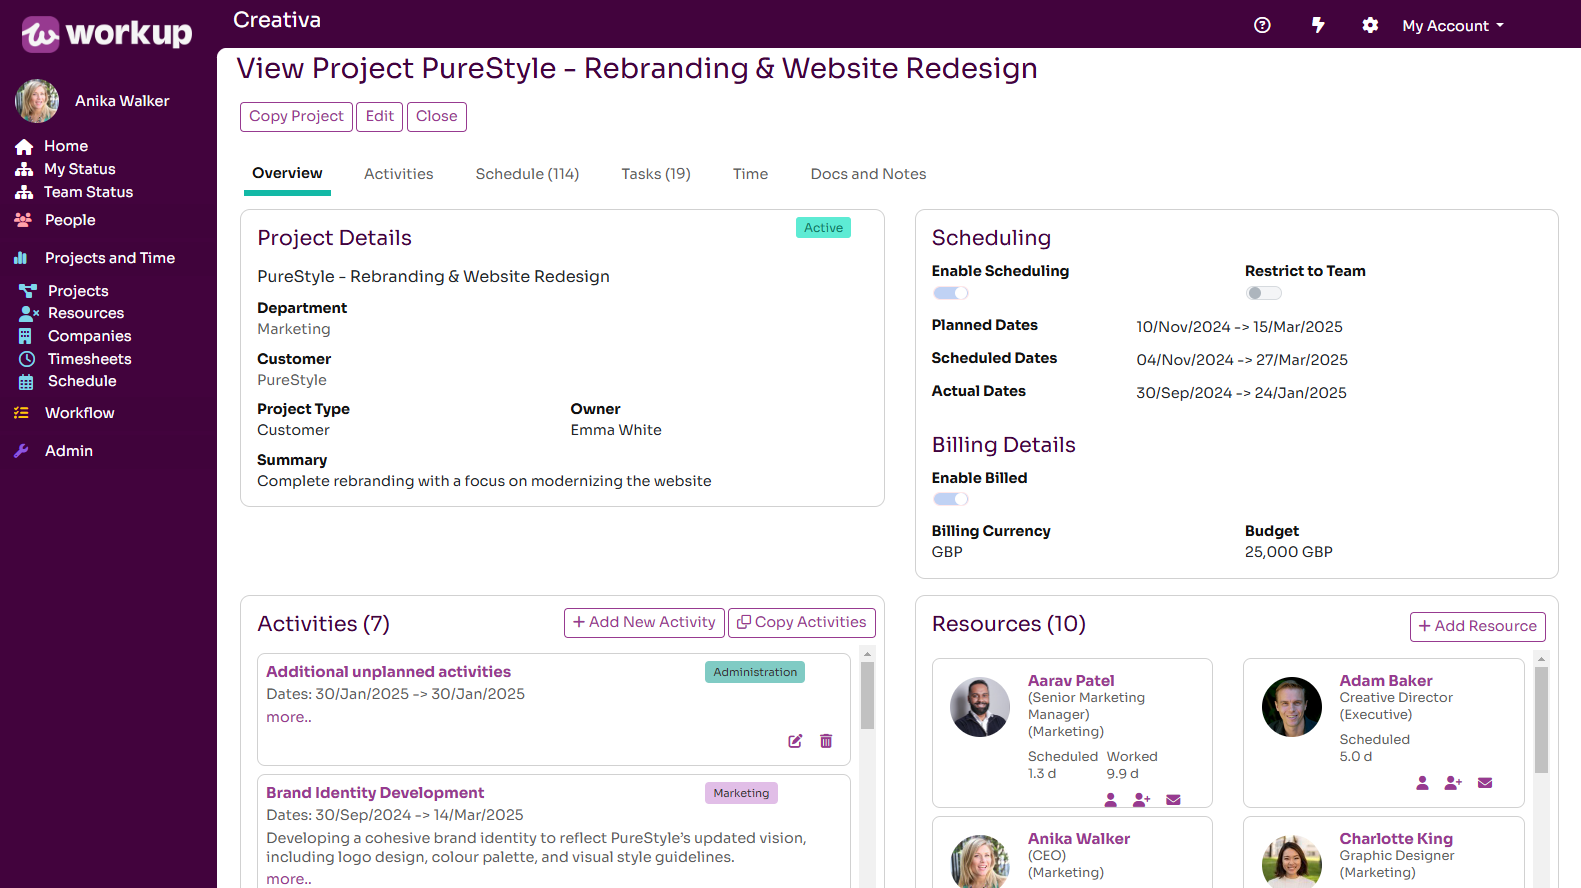
Once you have completed the wizard, you will then be taken to the project page. Her you can change any of the project details, update and add activties and resources, schedule time and add tasks to the project.